
Many tire shops won't know how to install Army Jeep Tire beadlocks on Split rim tires. This article shows you how.


|
1. Many times restorers have thrown away the metal tire beadlocks because of the hassle to install them. You will find that most tire installers don't understand how to install them so they won't touch them. This article shows you everything you need to install WWII army jeep tire beadlocks. |
|
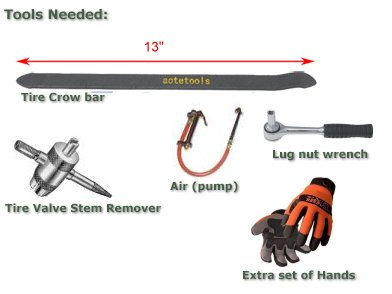
2. Before you get started you will need the following before putting on Tire Beadlocks. A tire crow bar Valve stem remover Silicone Lubricant Air Compressor (pump up) Lug Nut wrench Extra Pair of hands (helper) makes it easier. |

|
3. In addition, we found that placing the tires, tubes, and optional flaps in the sun, made them warm up and easier to work with. |
|
4. First, If you inner tube is new, then stuff into the tire, if your inner tube has had air in it, remove the valve stem and stuff into the tire. Here we use baby power on the flap to help prepare flap slide easier against the inner tube. Note: Not all Tubes and Flaps are created equal! Tubes should have the stem "offset". If they are centered they will not work in the split rim. Flaps... older types used to have a thick center, seemed to be heavier duty, search around for a good heavy duty kind if possible. |
|
5. With the inner tube in the tire, inflate the inner tube so it is just a bit bigger than the tire. Here we show the flap being held by using the stem to help stablize the position. We placed a couple washer around the stem and put the valve stem cover on to help hold it there. Stuff the flapp completely inside the tire. |
|
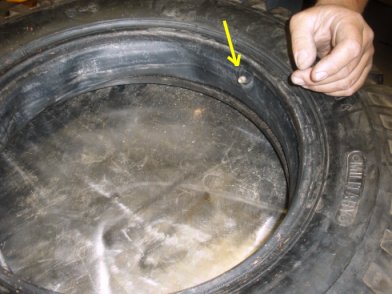
6. With the inner tube and flap in position, now remove the valve stem in preparation of installing the beadlock. The valve will be pointing one side or the other, so decide ahead of time which side of the tire you want expose to the public. |
|
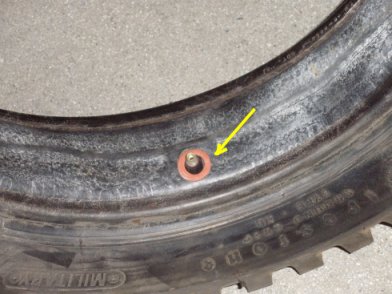
7. *optional* Here we put a rubber washer on the valve stem. The modern day inner tubes appear to have a longer stem, the rubber washer helps shorten the stem when it is time to place the valve stem cover on. |
|
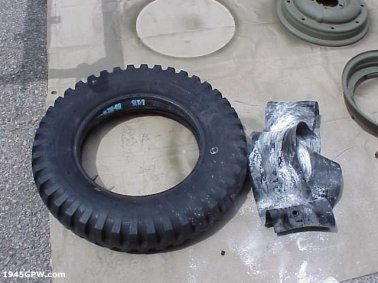
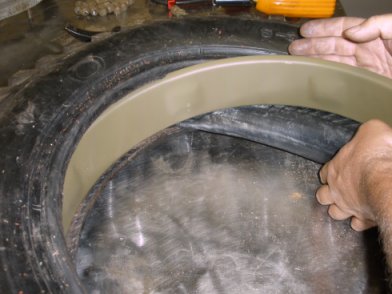
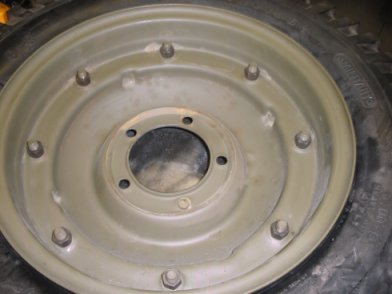
8. The beadlock is to fit completely on the inside of the bead of the tire, therefore, line up your beadlock valve stem opening, and sit on the tire so the beadlock will fit on the inside. |
|
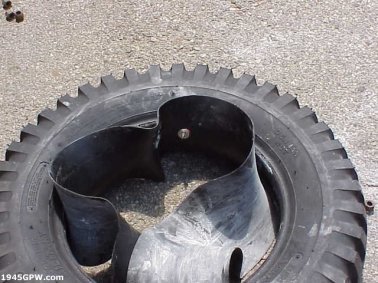
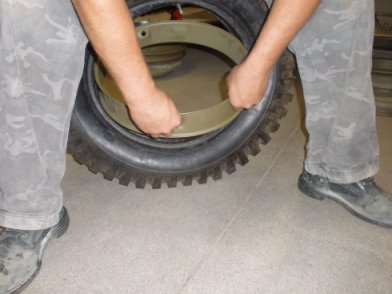
9. Now manipulate the beadlock to fit to the center of the tire, pushing the beadlock over the valve stem and start manipulating the beadlock to the center of the tire. This may require you to site on the tire a couple times, or if you have those extra set of hands, then bring the tire up on a table and use the tire crow bar to open up the tire so the beadlock fits into the center. |
|
10. You can push the beadlock into the tire to help get it all on the inside of the tire. The valve stem being out of the tube at this point helps manipulate the tube and flap. |
|
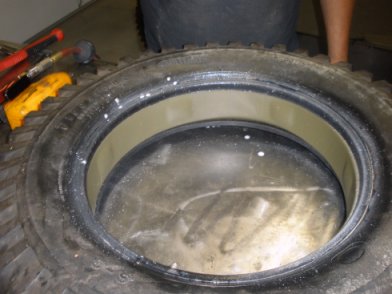
11. At this point the beadlock should be completely on the inside of the tire. You want to make sure the valve stem is straight, and pulled out. Your inner tub and flap should not have any wrinkles or over laps. |

|
12. Next, place the valve stem back in, and slightly inflate the tire in preparation of putting the split rims back on. |
|
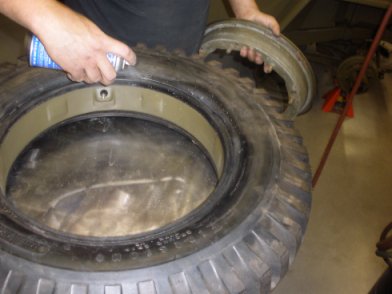
13. Prior to installing the slip rims we are going to add a little silicon grease to the bead so the rims can be pressed on the bead easier. |
|
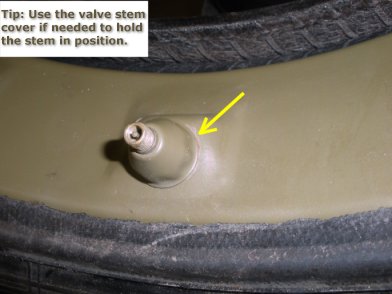
14. Here is a good spot to mention, that you can use the valve stem cover to help keep your stem from falling back into the tire. Often, this method is used throughout the process. |
|
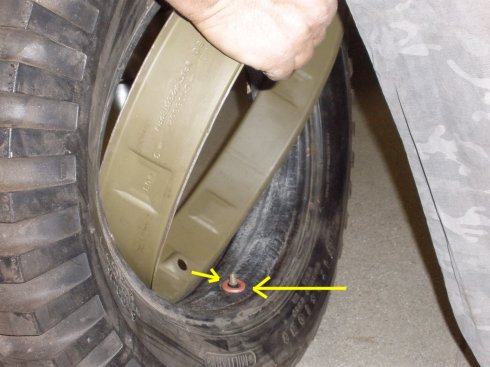
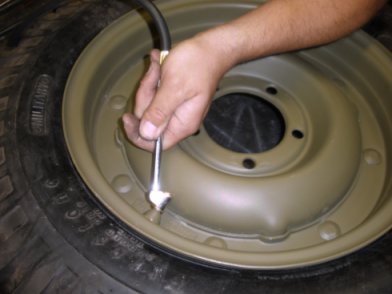
15. Now install the out rim of the split rim over the valve stem. Push down on the rim as far as you can down into the bead of the tire. The silicon spray should help get this half of the rim into the tire. |
|
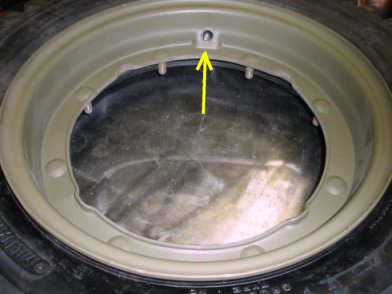
16. NOTE: It is a good time to see that your rim bolts are positioned correctly on your rim with the flat side toward the center of the tire. |
|
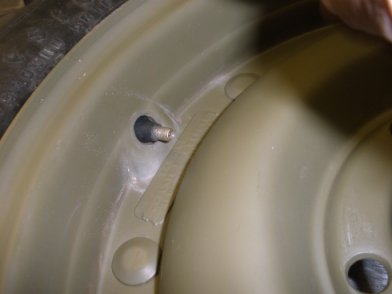
17. Verify once again that your valve stem is straight through this half of the outer split rim. |
|
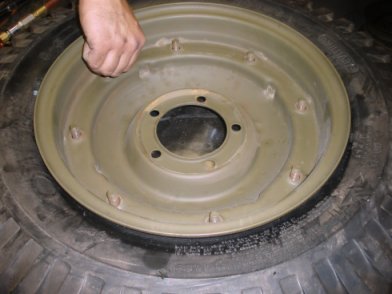
18. Now flip the tire over and add the back half of the split rim. Line up the bolts with the rim, and apply the nuts on the back. |
|
19. Next, torque the nuts down so that the rim is securely tightened. Note: be very careful to keep your fingers away from the tire as you tighten the nuts to to bring the two halfs of the rims together. |
|
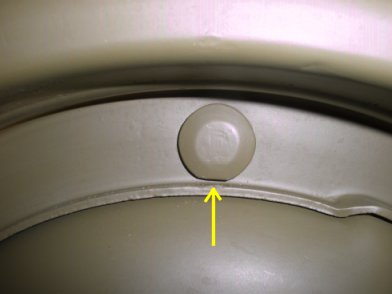
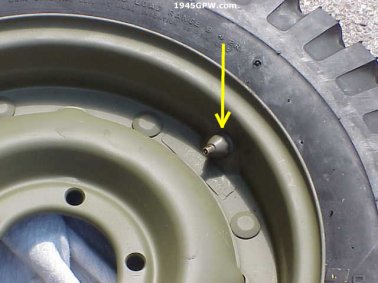
20. Now install your valve stem cover and tighten it down as far as it will go. The rubber washer you installed previously should help the valve stem cover to sit on the rim nicely. |
|
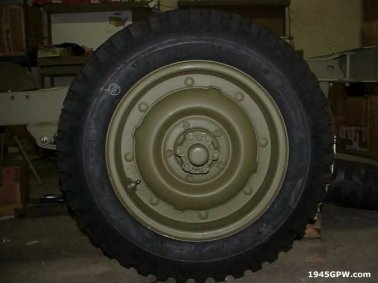
21. Finally, add air to the tire until the beads of the tire press up against the rim. The tire is to have 36 lbs of pressure, so at this point the tire should be seated well against the tire. |
|
22. Now repeat these steps for the next four rims. It should look great and your beadlocks will be there to protect your tubes as originally designed. Hope this helps! |
