
Lubing your G503 WWII Jeep is not that difficult if your a young person. If your an older person it can be a little more challenging. Here are steps to start at front of your Jeep and hit all of the lubrication points around the vehicle.


|
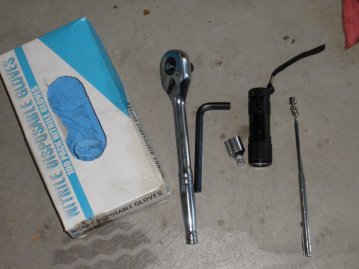
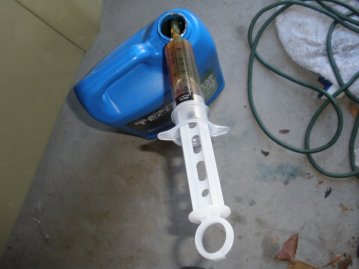
1. If you haven't lubed a jeep or if it has been a little while since you last lubed one, you should expect it to be kind of messy. In addition, there are a few tools that you should have handy to complete the job. The first set of tool is the lube gun, rags, and I got this surenge to help squirt the oil for transmission easily from Walmart. |
|
2. The second set of tools to have ready is the rubber gloves (it will be a little messy), a socket wrench for draining transmission gear fluid, a 3/8" allen wrench for transmission fill plug, and I always keep a magnetic pen ready, so when I drop my plug on the skid plate I can grab it quick. |
|
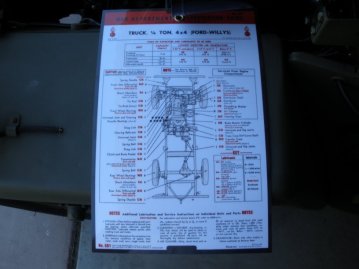
3. If your like many in the hobby your age of bending over and getting up easily is well over. So when you get on the ground, try and get as much done as possible. Before you start the lube process review the Lube chart in your TM10-1513 manual. |
|
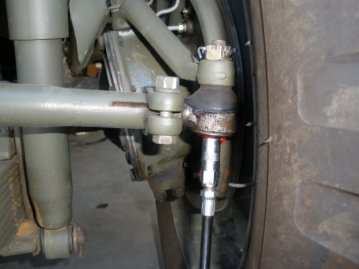
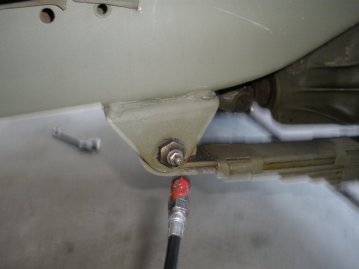
4. In the TM10-1513 link above from Jon Roger's site, it also shows you the steps for lubing your vehicle. So between these steps and the manual from the link above you should be set to go. I start with the tie rods on the front of the jeep and move down the driver side and back around to the front on the passenger side. Here you see the two fittings for the Tie Rods, and I the third on the bell crank behind the tie rods. |
|
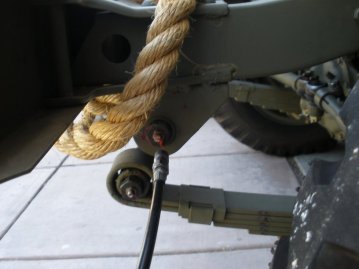
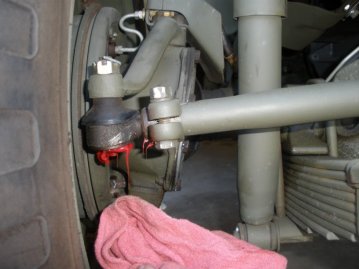
5. Behind the bell crank for steering is the drag link for steering. You can hit the front fitting while you are here. And get the back fitting when we are under the driver side. |
|
6. Generally, two squirts is enough, but some need more, some less. If you pump and you feel pressure back, as if not working, then your zerk fitting may be on to tight, and you will need to loosen. Move towards the driver side and hit the other tie rod. These two are a little sneaky, if your in a hurry you can miss these. |
|
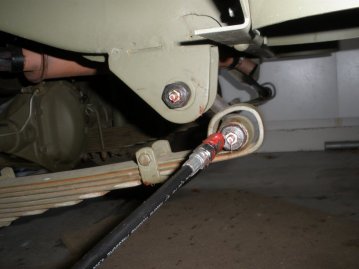
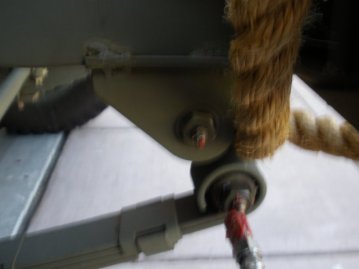
7. Next, on the driverside, the two spring shackles joints get some grease. If you haven't done so, you want to wipe of the fittings after you start squirting. |
|
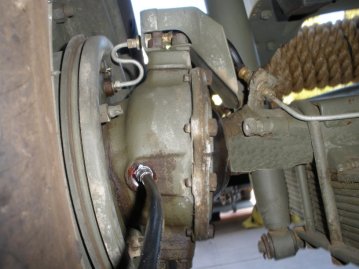
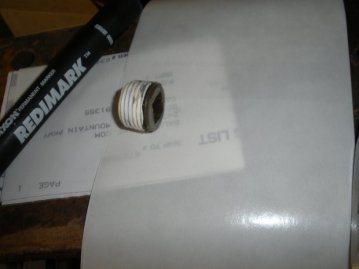
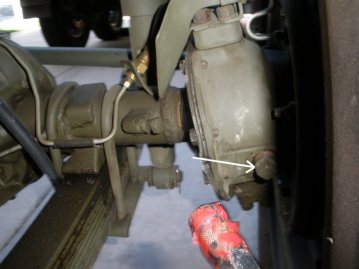
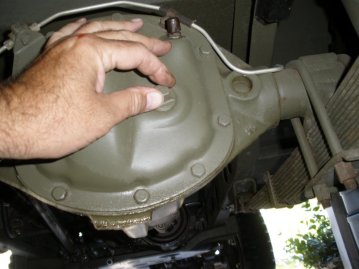
8. Next, unscrew the front axle universal plug behind the driver wheel. Stick you pinky finger into the axle housing and see if you can feel grease. Most likely not, as the grease settles at bottom. I will give 5-10 squirts into the drum. |
|
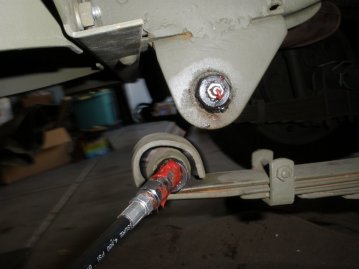
9. Next, hit the two spring bolts on the frame. Be sure to wipe up everything you have greased up at this point. |

|
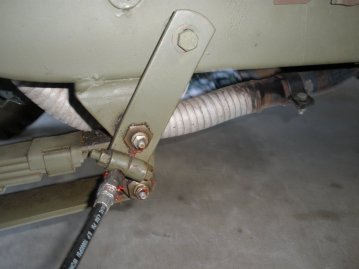
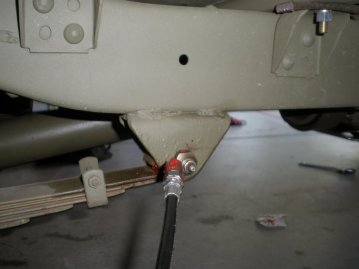
10. Just past the spring bolt under the jeep, you will see the Clutch/Brake Lever Shaft with two fittings. You will zap both of them. Now while you are here look for the other end of the drag link for steering and zap that fitting as well. |
|
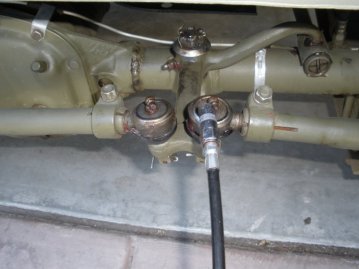
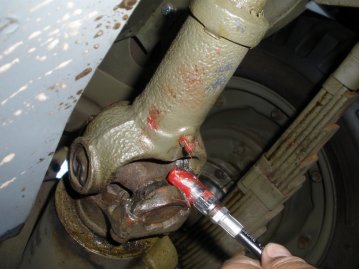
11. Scoot a little further under the jeep and locate your front drive shaft. You have two fittings one for the shaft going back and forth, the other one on the inside of the universal fittings. (you may need to turn the wheels for this one) |
|
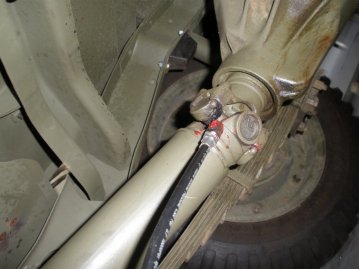
12. While under the jeep, shift to the back axle shaft and hit the zerk on the universal joint (if you can). If the zerk is not in a position, you will need to rotate by moving the jeep forward or backwards. |
|
13. Next, scoot out from the jeep and hit the back wheel spring bolt. After this one is done, set the grease gun aside and check the fluids on the transmission |

|
14. While under the jeep I now check the transmission 90w gear fluid. Pull out your 3/8 in allen wrench, loosen and remove. Stick your pinky in there and see if you can feel fluid if you can't then add some. |
|
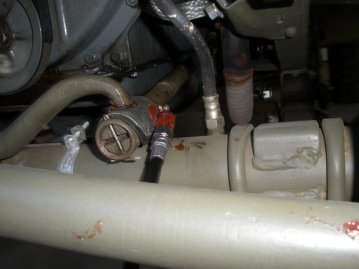
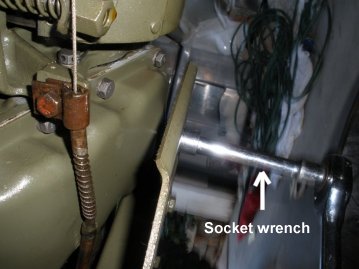
15. Here I am going to remove the fluid from my transfer case. The plug underneath has a square fitting which a 1/4in socket fits great. Loosen this up and let the fluid out (if you are changing the fluid for example) |
|
16. I will tape up all of the plugs around the transmission/transfer case to avoid dripping. If you changed the fluid then tighten this one back up and we will fill when we are on the passenger side. |
|
17. Now back to greasing fittings. On the driver side back spring shackle bolts get zapped both top and bottom. |

|
18. Now here, you have a choice to pack your wheel bearings. I just did mine on my restore, so they should be fine. If you have not, I would look to investigate them. Here we move to the back axle housing, and remove the plug and stick your finger into the housing and feel the 90w gear oil. Add if needed. |
|
19. Moving around to the passenger side, grease the back spring shackles bolts |
|
20. Move around the passenger back wheel and hit the rear spring shackle bolt. |
|
|
21. Now here you can get on the ground and hit the Transfer case Lever fittings. I just did these a few weeks back so I don't have a picture. These should be two right angle zerks on the transfer case levers (from under the jeep). |
|
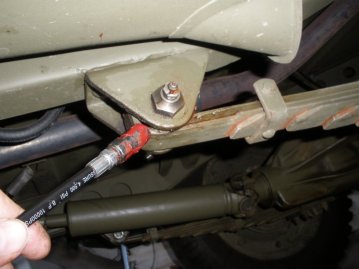
22. Continue forward, and hit the front spring rear bolt. |
|
23. Remove the Front passenger axle plug and check your grease level. Give a few squirts if you find the level low. |
|
24. Next, hit both of the front passenger shackle bolts. |
|
25. And last but not least, the front passenger side tie rod. Again, if you have a lot of grease, wipe it off. The more excess grease you have around the jeep the more grundge will collect. As you can see with these pictures, I need to go back and wash down from underneath. |
|
26. Almost done, now you can put the grease gun down, and check the front axle 90w gear oil. Like the rear axle, remove the plug and stick your pinky finger into the hole and check level add if necessary. |
|
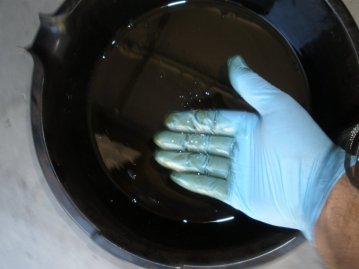
27. Now the last part. I drained my fluid on my transfer case side, so I need to replace that fluid. Before I do that, check the oil that was drained and check for metal fragments. If you find any have your transfer case checked by a professional. Otherwise your ok. |
|
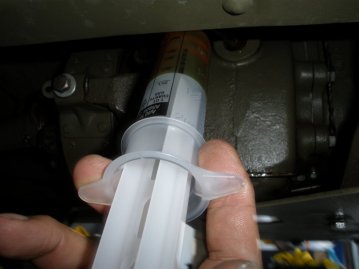
28. Here is where I like that cheap Walmart device to squirt the fluid into the side of the transmission or transfer case. I fill up the device. |
|
29. And I squirt the gear oil into the transfer case. With this device it takes about 5-6 fills to top off. But, no mess. |
|
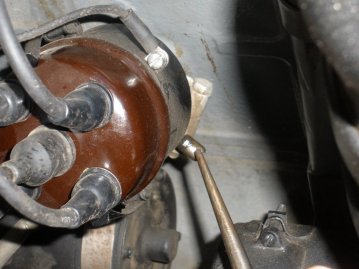
30. The last part of the lubing is the distributor oiler. If you have your oil can handy with oil in it, then move to your distributor and pull out your oiler and give it two drops of oil. Should be it! Now check your lubrication chart and check off all that you have done. Hope that helps someone. |
