
This article shows a simple, easy way, for one person to bleed a WWII Jeep Hydraulic brake system


|
1. Bleeding brakes can sometimes be very frustrating. With hydraulic brakes you do not want any air in your lines. In most cases, it takes a two people to bleed brakes. One to open the bleeder screw, and the other to pump the brakes. |
|
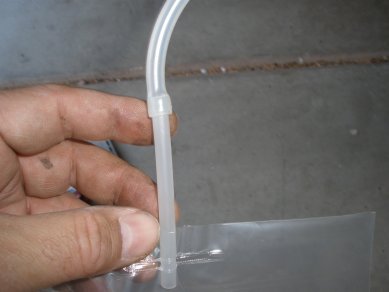
2. In this article we are introducing SpeedBleeders. No vacuum pump, very simple, one person method using by using Speed Bleeders If you look at the picture, you see how speed bleeders work. With the bleeder open a 1/4 turn, and tube connected to the bleeder, a hobbyist can push slowly on the brakes, pushing fluid out, but when your pedal comes up, a check valve will stop air from entering the system. |
|
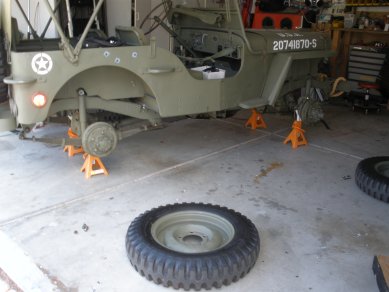
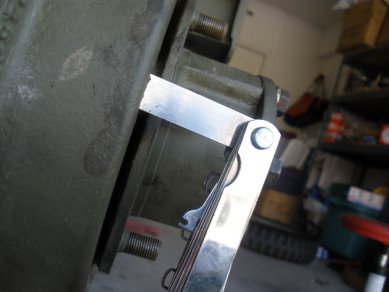
3. You don't have to jack your jeep up, but I wanted to so I could get good pictures and get a close up on what is going on. |
|
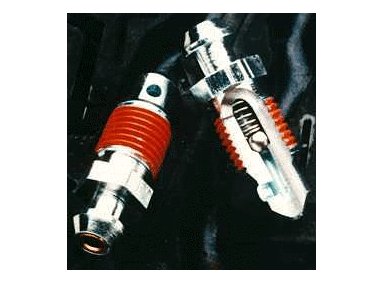
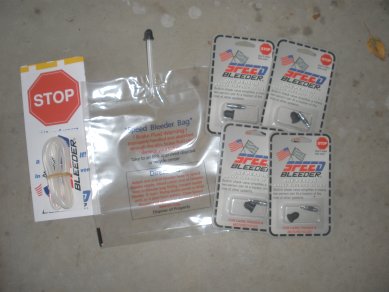
4. I used the SB1428 # 1/4 x 28 speed bleeder which are $7 each, and the reusable retainer bag at $3, and the reusable 1/4" tubing at $3 (total $34). Since I had purchased a vacuum bleeder from Harbor Freight for about the same price and with a poor result, this solution was really intriguing. |
|
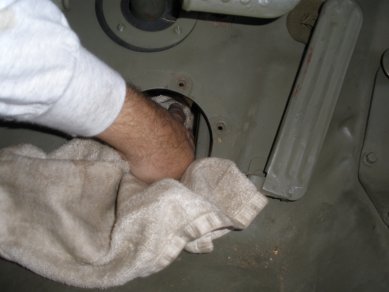
5. Tip: Clean around the master cylinder and the bleeder, clear area from dirt. You do not want dirt getting into the brake system. |
|
6. Connect the tube to the retainer bag. Now you are ready to start removing the old bleeders and replacing with the new speedbleeders. |
|
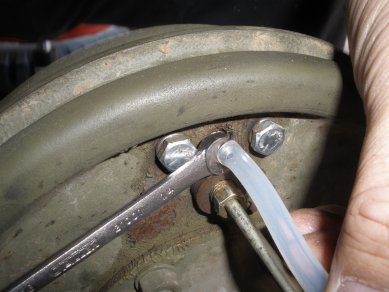
7. Starting with the Rear Passenger wheel, place the tube from the retainer bag over the existing bleeder and loosen. You should have a fair amount of pressure pushing the fluid out. Wait till the fluid has stopped, and loosen all the way out and remove. |
|
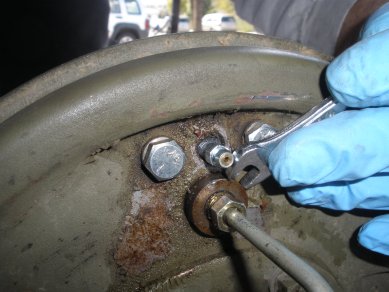
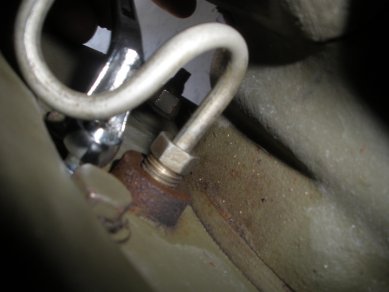
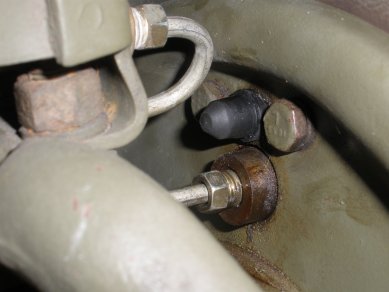
8. Now, with the old bleeder out, screw in the new bleeder. As you screw in the speedbleeder you might feel a little resistance as you get closer to the end, this is normal as the threads on the speedbleeder have sealer on them. You see in this picture that the brake fluid is eating away the paint, so be sure you have plenty of protection around the bleeder area. |
|
9. Repeat this process for the other Rear wheel bleeder on the driverside. You will note that the fluid has no more pressure, so the leakage should be minimal. |
|
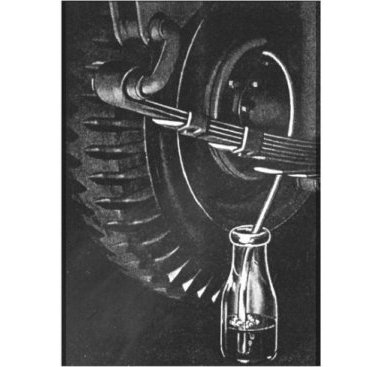
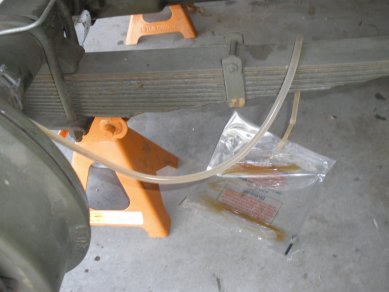
10. Now with all the speedbleeders now in the wheel cylinders and tightened down, move back to the Rear passenger side, and attach the tube retainer in the line. Loosen the speedbleeder about 1/4 - 1/2 a turn. Pump the brakes slowly about 4 times. The speedbleeders will open pushing the brake fluid out, and close when the pedal is retreating. Here you see the line is full and the fluid being push out with each brake stroke. |

|
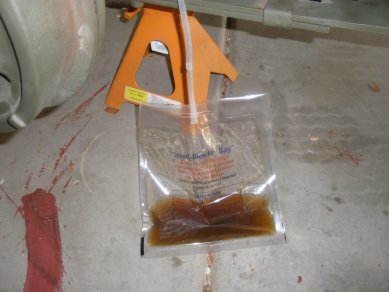
11. With a closer examination, you can see that the air in the fluid has already been pushed out. Now, tighten the bleeder (clockwise) and pinch the tube off at the bleeder and the fluid will flow down into the retainer bag. |
|
12. I moved to, and finished the passenger side front wheel and I was looking at the amount of fluid I now had in the retainer bag. At this point you want to check your master cylinder fluid level. I added more fluid to the master cylinder because you don't want the cylinder to go dry and get air back in your lines. |
|
13. After finishing the final driverside bleeding, I filled the master cylinder back to 3/4 full. |

|
14. Install your master cylinder cap, and floor cover, and you are almost completed. |
|
15. Included with the speedbleeder is a nice rubber dust cover for your bleeders. Put one on each of your bleeders and your done. |
|
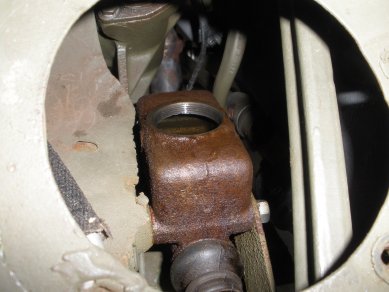
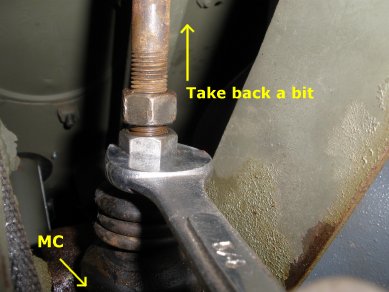
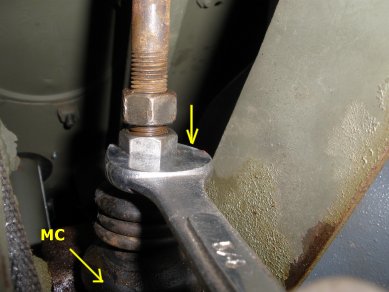
16. After installation of the speedbleeders you might find that your brake pedal goes to the floor. If so, you need to adjust your brakes now that all the air is out of the lines. Under the driver seat in the back of the master cylinder, check your brake arm position. Shown here is about average. You may want to back it off a bit in the direction of the back of the jeep. We will come back to this at the end. |
|
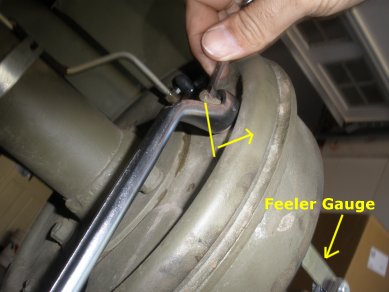
17. With each wheel, your going to adjust the eccentric adjustments to .008 shoe off the drum. Here you see the feeler guage in the slit of the drum, if you turn the eccentric toward the rim all the way until it is tight, then back it off a bit where you can turn the rim without any rubbing from the shoe, then tighten the eccentric down. |
|
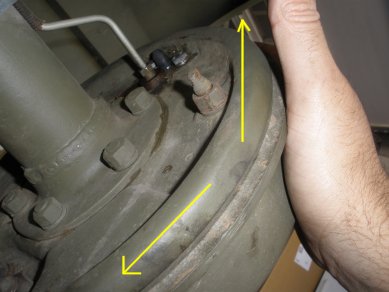
18. Once you have one eccentric nut tightened down, spin the rim back and forth and verify you have no rubbing of the shoe. If it sounds and feels good, move to the other side and repeat these steps. |
|
19. Note on the feeler gauge. The feeler gauge at .008 is very thin. That puts the shoe very close to the drum. You might want to keep the feeler gauge in the slit while testing back and forth. Your margin of error may be greater than .008 so you have to do the best you can between the shoe and the drum rubbing. |
|
20. Check the foot pedal Now all of your brakes should be adjusted, the last adjustment is back on the master cylinder armature. Push in your brake pedal and check to see if it goes down and gets tight about 60% down. If so, you are at a good spot, no other adjustments needed. If it goes down further, then move the MC armature in (towards the master cylinder). It doesn't take much, so adjust a little and check again. At this point your are done! |
