
This article describes how you can install a G503 WWII Jeep Windshield Frame Glass. Applies to 1942,42,1943,43,1944,44,1945 Jeeps models


|
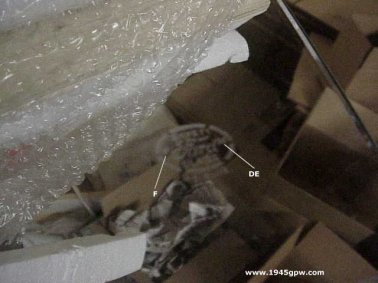
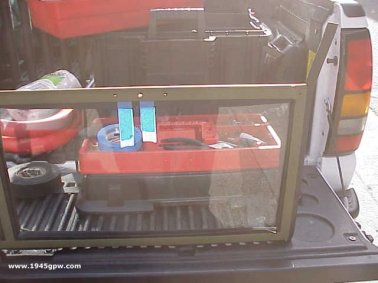
1. Installing New Windshield glass and dismantling the frame is pretty easy. First, I received my new window glass from Marc Belanger from Quebec, Canada. It was beautifully etched to spec. |
|
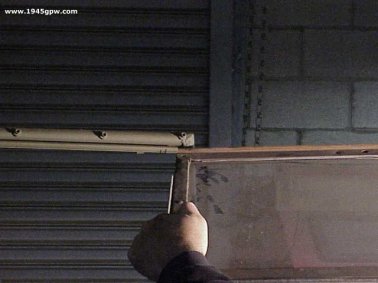
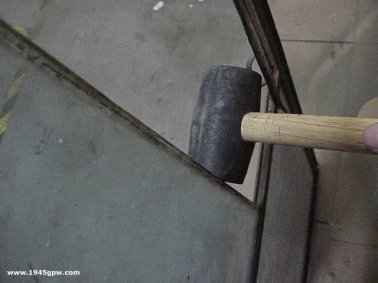
2. Remove the inner windshield from the windshield frame. The inner windshield slides out of the casing. I used a rubber hammer to help get it started. If its frozen due to rust, hit it with some penetrating oil, and tap it out |
|
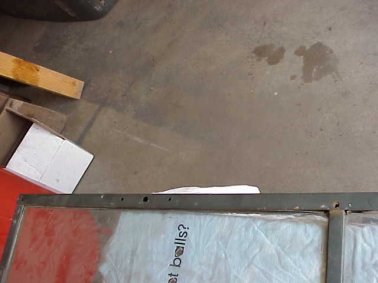
3. Remove the screws in each of the corners of the top frame and in the middle. Make sure you remove all of the screws. |
|
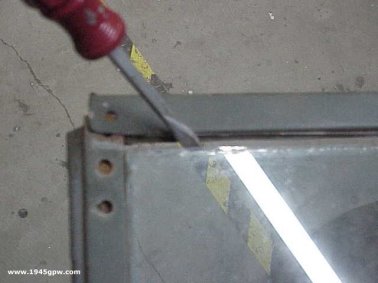
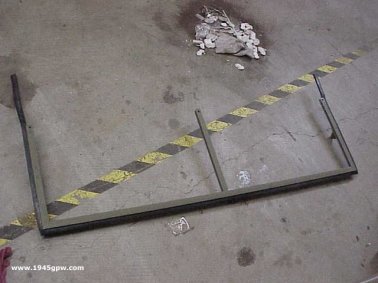
4. Once the screws are removed, the top frame should be loose. You can start prying it off. It should come off pretty easily, working it slowly. |
|
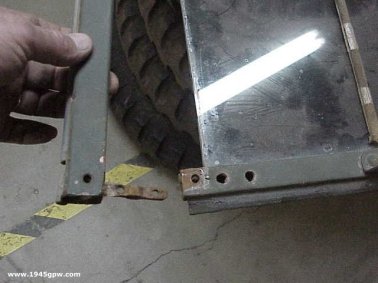
5. You will see that there is an insert into each of the side frames, so once you get this off, your top frame will be free. |
|
6. At this point, the top of the frame should just pop right off. You do want to be careful of any knicks in the glass you are removing as it can be sharp. |
|
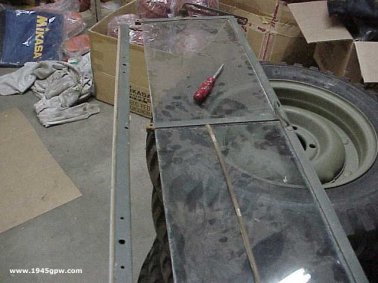
7. Here, I turned the frame upside down and dropped it carefully on the ground to get the weight of the glass to drop down. My glass is pretty tight so, I wanted to get it started so I can start prying it out. |
|
8. Continue working the glass out...carefully...not wanting to make a big mess with broken glass. I used this screw driver to push the glass out, until it was far enough out I can tap it out with a rubber hammer. |
|
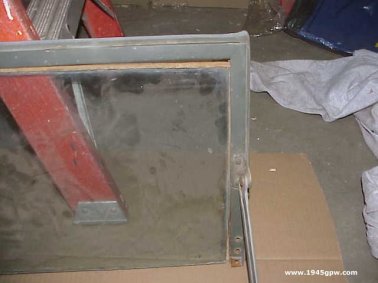
9. I pried it out far enough to start tapping it out with a rubber hammer. I kept tapping it out until I could pull the glass out. Repeat these steps to get the other piece out. I started rushing it and ended up breaking my other side, so go slow. If it is really tight, then squirt some penetrating oil around the glass frame. |

|
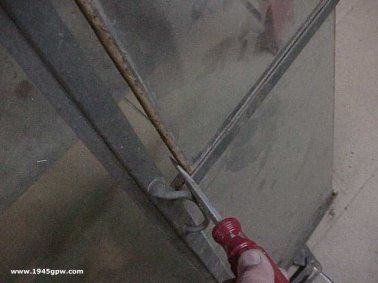
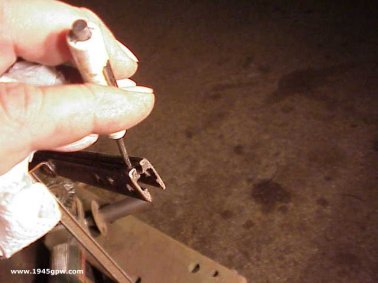
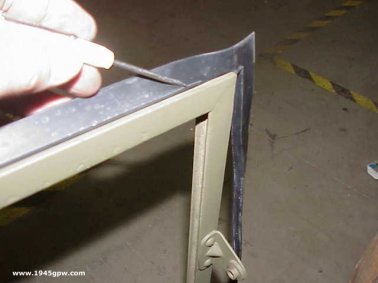
10. Now the pesky rubber seal. This was hard and frail around my frame. I broke the edges off all the way around, and shot some penetrating oil around the frame. I then got a small screwdriver and pried the rubber seal out. |
|
11. Don't do this!!! I got that little screwdriver out and ended up jamming it into my thumb (notice the wrapped thumb. I ended up using a wire brush on my grinder and just shaved the rubber out. Piece of cake. |
|
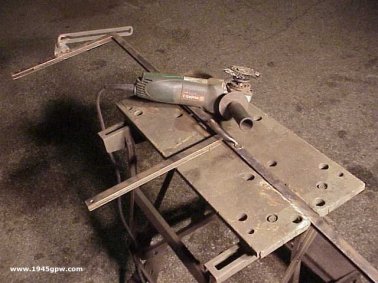
12. took my wire brush on the grinder and removed all the existing rubber seal in the groves, then I continued and removed the 4 layers of paint. I did this prior to sandblasting, so it would take less time in the long run. |
|
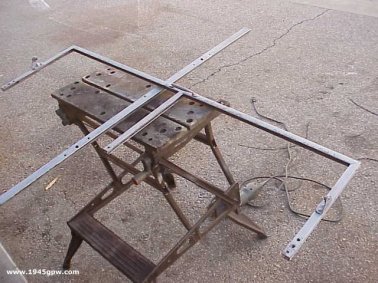
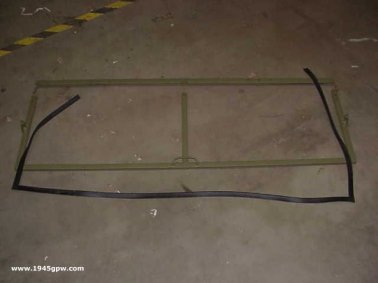
13. Next, I sand blasted the frame, primered and painted. Will install new rubber seal next, then the glass. |
|
14. Now that the primer and paint are dried, I wanted to install the rubber seal that goes on the outside of the frame. I laid it out, and noticed that in order for it to fit correctly, it will need to be stretched. |
|
15. It turns out, the easiest method I found was to use a small screwdriver to insert the rubber seal. Stretch the seal from corner to corner and tilt one side of the edge of the seal into the grove. Use your small screw driver to push in about an inch on one corner then, do the same on the other side. The seal will now be in place for you to push the seal into the slot. |
|
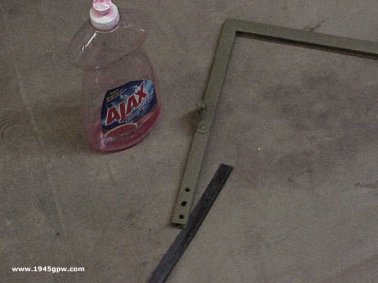
16. Use dishsoap to help get the seal to slip around the frame. I applied it, but turns out the seal slipped around pretty well anyway. |
|
17. Done! It took maybe 10 minutes to complete. Because the seal was stretched out, it made it simple to use the small screwdriver to guide in the one side that was sticking out (WITHOUT pucturing it). |

|
18. Now, inserting the glass. Take your sealer tape and surround your entire piece of glass. In my case, I had etched ford logo's, so I had to be careful to make sure I had the logo facing the proper direction (logo facing passenger, facing away from driver) |
|
19. To hold the sealer tape in place, tape it down into place. You will cut all excess when bolted in. Press your top piece into place and install the bolts. |

|
20. Hard to take a picture and show two hands, but here was my attempt. Take a nice new razor blade, and cut along the edges removing all excess tape. Complete it on both sides...and you are done. |
|
21. You see here, that the excess rubber seal needs to be cut as well. Wait till you install it back on the windshield frame, then you can see how much to cut off. I had about 3/4in additional to leave on past the frame. |
|
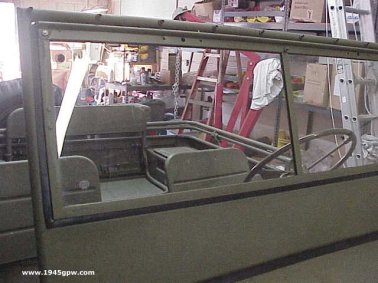
22. When you are all done, it will look great. Very clean. |
