
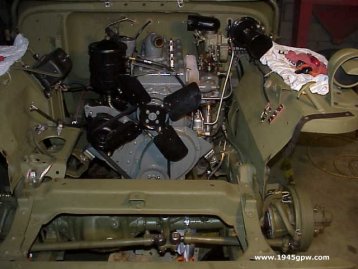
If you have an engine puller and straps you can remove the G503 WWII Jeep Go Devil Engine in about 4 hours or less by yourself. Applies to 1942,42,1943,43,1944,44,1945 Jeeps models


|
1. DRAIN RADIATOR: To start your engine removal, we start with draining the Radiator fluid from the block. While this is draining, continue with the other steps, as this will take about 20 minutes. |
|
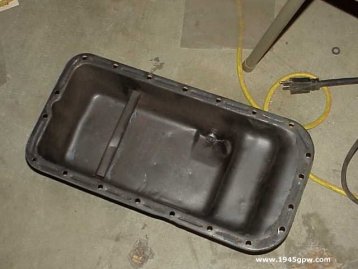
2. DRAIN OIL: This is optional, in my case, I drained it because I was replacing the rear main seal. So I removed the oil and the oil pan. |
|
3. REMOVE BATTERY: You will need to remove some wiring, so disconnect the battery so you don't zap anything |
|
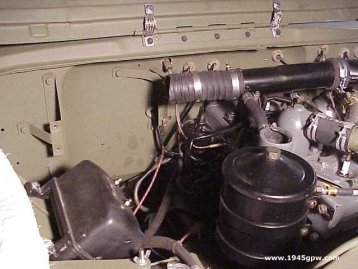
4. REMOVE AIR FILTER: This will probably get in the way, should move it so that it, or the brackets don't get dinged up. |
|
5. REMOVE AIR FILTER TUBE: I removed this so that I don't screw it up while hoisting. |
|
6. (OPTIONAL) Remove Grill: If you decide to remove the grill, Its actually easier than I thought. Disconnect the wires on the driver fender junction, and disconnect the bolts to the fenders and frame. |
|
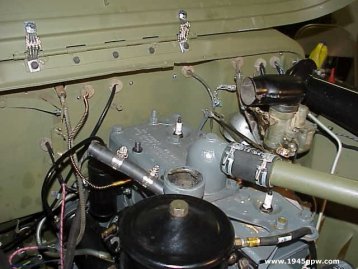
7. REMOVE COIL WIRE: this wire comes from the firewall, so you will need to remove it. As well as the cable to the distributor cap (if you take it off like I did.) |
|
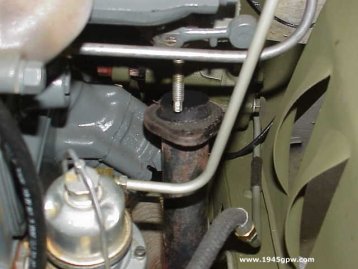
8. DISCONNECT TEMPERATURE GAUGE: Cable comes out of the firewall, so be sure this is removed from Head. |
|
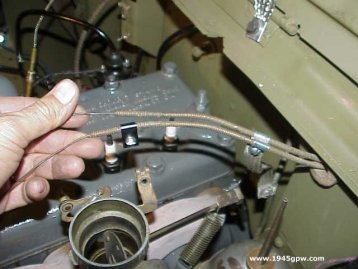
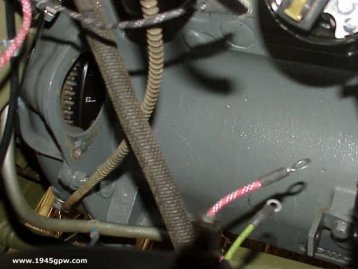
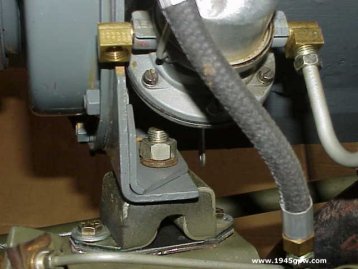
9. DISCONNECT CHOKE/THROTTLE CABLES: This cables comes from the firewall. Note, if you have a BOND STRAP from cables to Oil line, You should not have to remove it because it is connected to parts on the tub. |
|
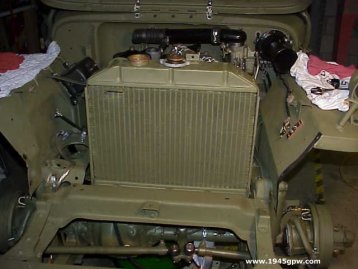
10. REMOVE RADIATOR: Remove the connections for the upper and lower tubes. There will be two bolts to remove on the bottom. |
|
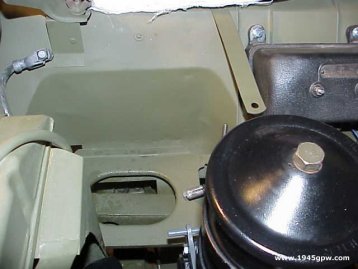
11. REMOVE HORN The horn will be in the way of you reaching the exhaust pipe and the oil line disconnect. Remove this and you will be able to reach these items. |
|
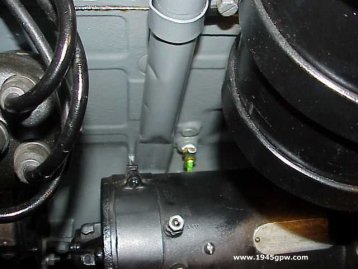
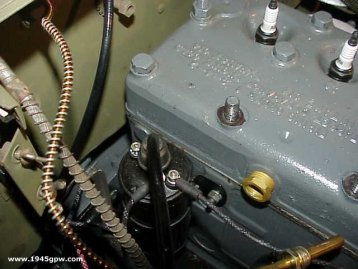
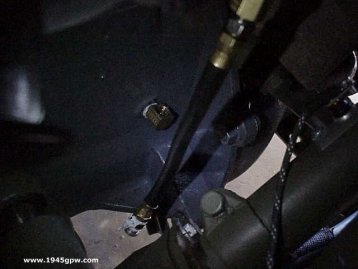
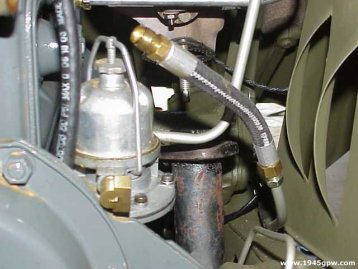
12. DISCONNECT OIL LINE: This line comes from the firewall. This can be removed from the tub on the tub, or at the block. |
|
13. DISCONNECT EXHAUST PIPE: Remove these two bolts to the engine. Note: to get to these bolts, you will need to remove the horn |
|
14. REMOVE STAY CABLE and CLUTCH HOUSING BOLTS: Many jeeps don't have the stay cable, if you do, disconnect it. |
|
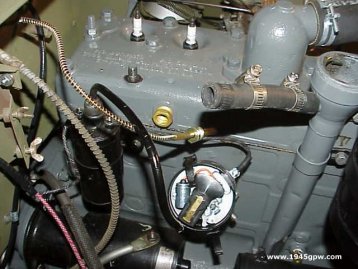
15. DISCONNECT STARTER: Remove starter and wires |
|
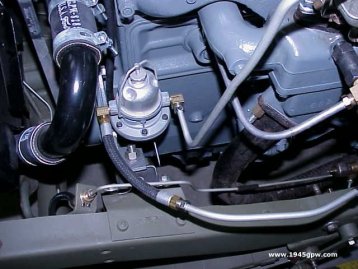
16. FUEL LINE DISCONNECT Remove the connection to the fuel pump. Here you see I have the late model which goes straight back to the fuel tank. Earlier models, line will go under engine to fuel strainer. |
|
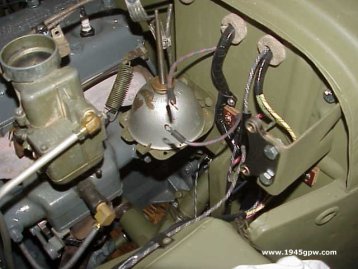
17. ACCELERATOR LINKAGE DISCONNECT Disconnect the Accelerator linkage (gas pedal to arm). This one is a little sneaky, but easy to get to if your horn is removed. |
|
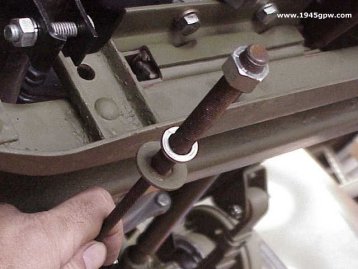
18. leave the engine mounts secured to the engine and unbolt them from the crossmember. It makes it a lot easier when reinstalling the engine because you don't have to line the mount studs up at the same time you're trying to line up the clutch splines. (tip from Pete Silfven) |
|
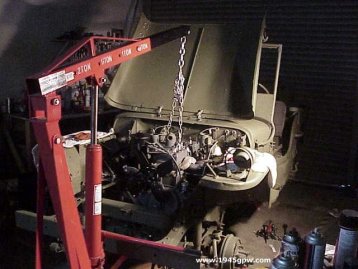
19. At this point, your bellhousing connection is ready to be disconnected. Be sure to have a jack under the bellhousing to support the weight as the engine is being pulled out the front. In my case, I will pull it out about 2 inches in order to allow the crank to drop and I can get the seal back on. |
|
20. (OPTIONAL) Remove Driver Side fender: Sometimes, while you have everything out, you might need to get to the steering, Master Brake cylinder, Fuel lines, etc. At this point, you may want to get to everything on the driverside |
